Export
The export process is compiled by 3 steps:
- Database/table – where you choose the database/table you wish to export.
- Settings – where you configure all the necessary settings.
- Export – where you verify if everything is good and start.
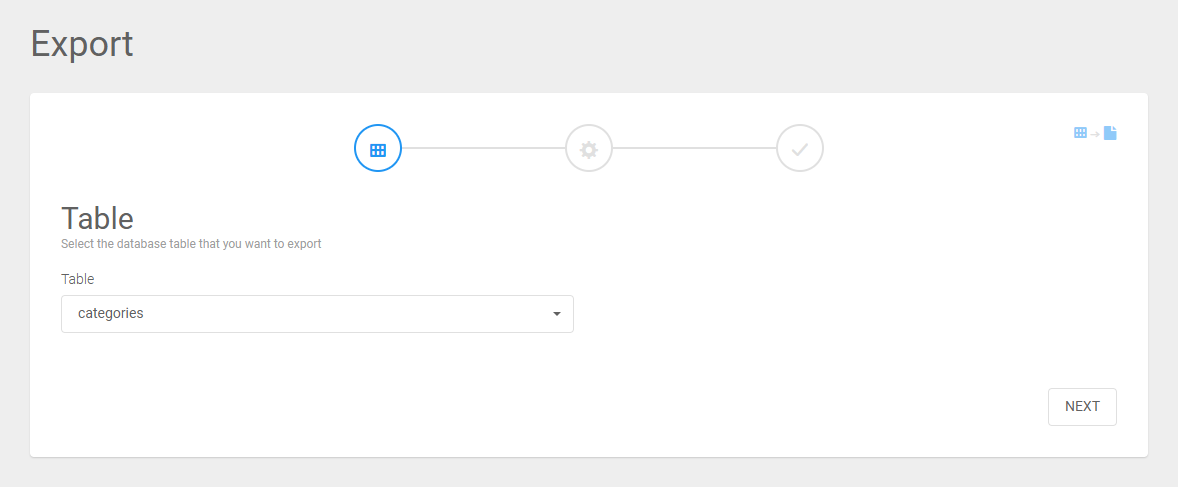
Database/table
Here you will define what database and table you want to export. First select your database (if you added more than one database in the settings), and after that you can choose your table. When finished, click on the next button right below.
Settings
In the second screen of the export process, you can see a couple of fields/elements. We have:
- Location - where you choose the location of the file to export to.
- CSV settings - where you select the settings of the exported fiele.
- Mapping - where you will map the CSV columns with the DB fields.
- Filter - where you decide which rows you want to import.
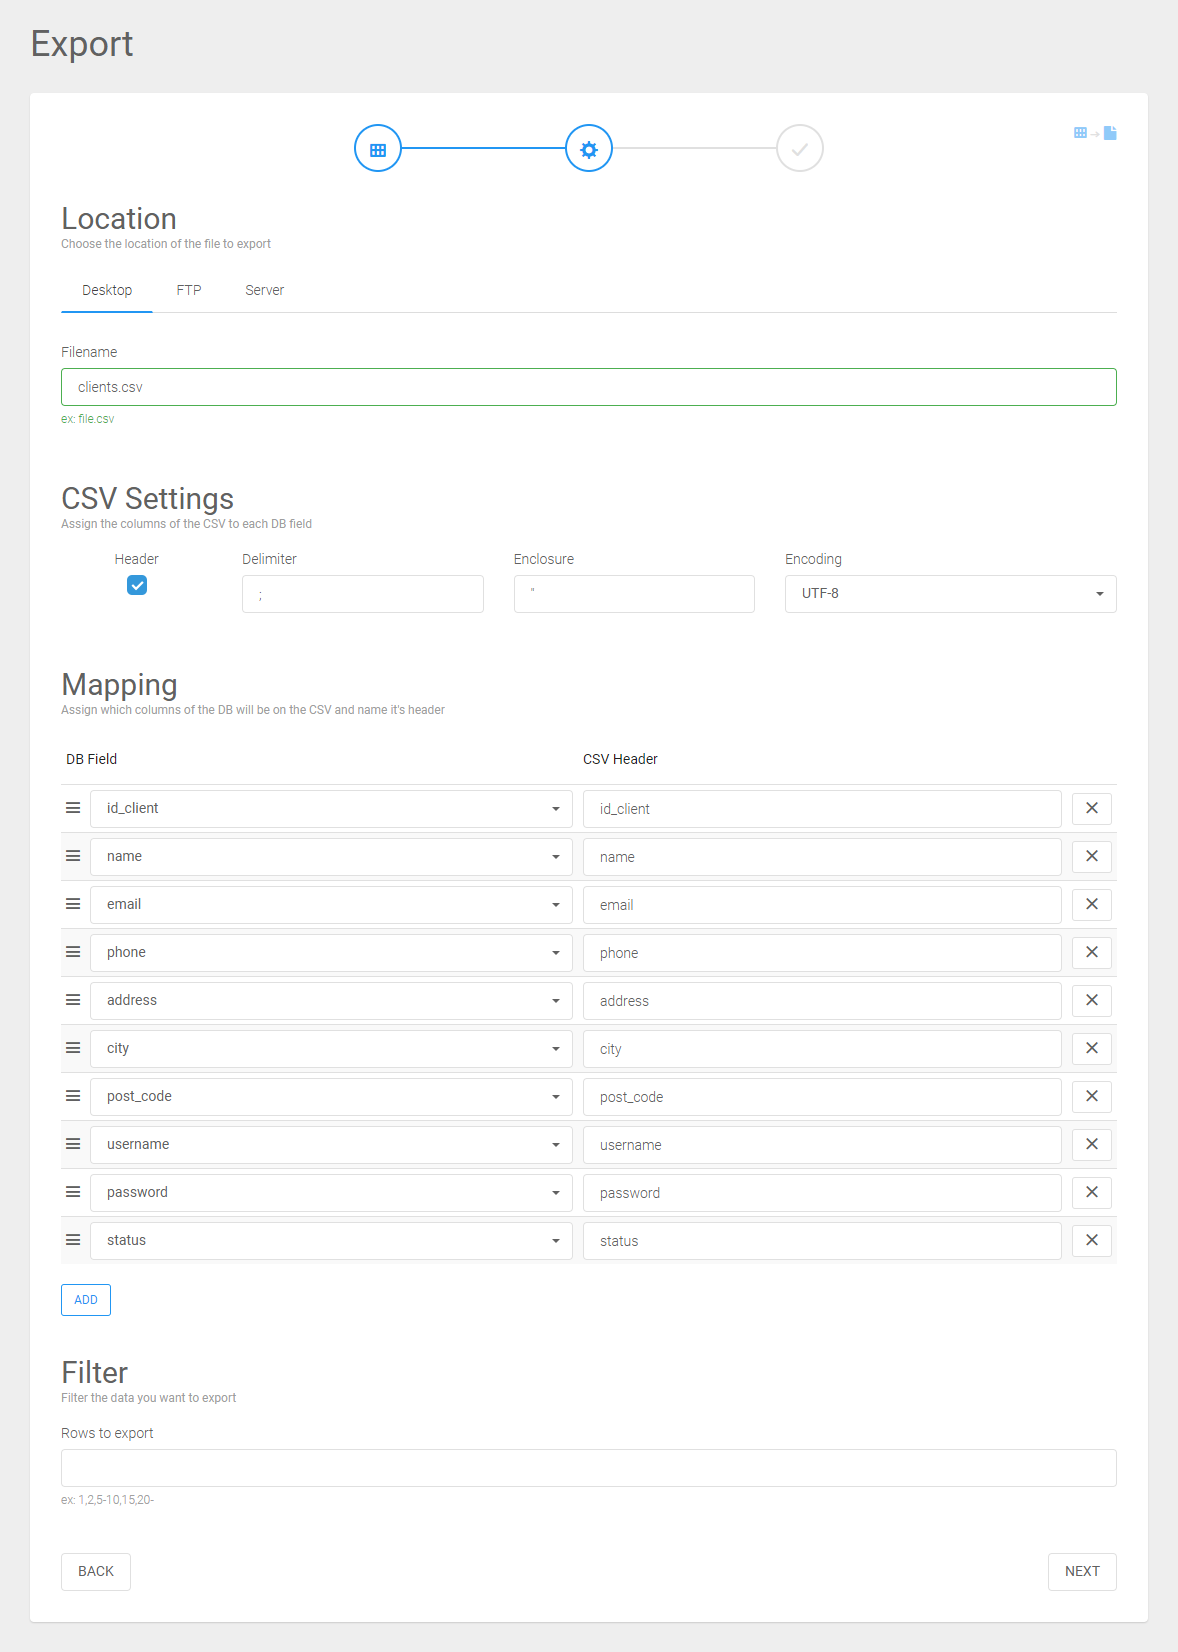
Location
Here you will define where you want to export the CSV file to:
- Desktop - the CSV file is saved on your computer.
- FTP - the CSV file can be saved on a external FTP server.
- Server - the file can be saved on the same location as the CSV Import & Export application (on the current server).
CSV settings
Here you will need to set your CSV file settings. By default, the system will fill the needed fields header, delimiter, enclosure and encoding with the default values. You can change this default values in the Settings > Export tab > CSV settings.
Mapping
After you have entered the CSV settings, you will have to set the column names for your .CSV file. Our system automatically uses the same name as in the database fields, however, if desired, you can change this to your own input.
On the left of every db field row, you can see the icon that once pressed allows you to move the db field row up and down, so you can change the order of your output CSV file.
On the right of every db field row, you can see the icon. When you click this, the selected DB row will not be included in the export file. If you accidently have removed a row, you can add it again by pressing the ADD button left below, and select the row that you removed.
When all is done, go to the filter section to complete this step.
Filter
With the filter you can choose which specific rows you want to export. You can enter row for row that you want to export by using the “,” sign. For instance, if you only want to export row 1, 2 and 10, your input in this field is:
1,2,10
When you want to import row 1, 2 to 5, 10 to 20 and 30 till the last row, your input in this field is:
1,2-5,10-20,30-
As you can see, the “-“ symbol represents all of the remaining rows. If you just want to export all the rows, just leave this field empty.
When all is done, click on the next button right below.
Export
In this final screen before you start the export, you can check all of your input and output one last time.
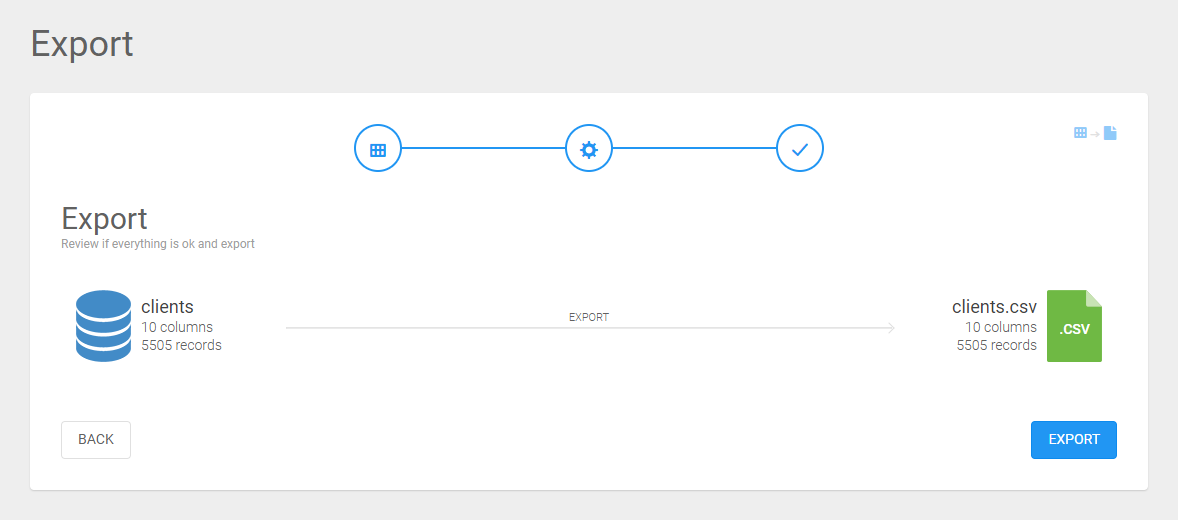
- On the left, next to the database icon, you can see how much columns and records there are in the database table. If this information seems strange or is not right, you can click on the icon to preview the database table information. You can also press the back button to reconfigure your import.
- On the right, next to the .CSV icon, you can see how much columns and records you will export. If this information seems strange or is not right, you can click on the icon to preview the output data. You can also press the back button to reconfigure your export.
- If all is correct, press the export button to start the export.
- After a couple of seconds (depending on the size of the export) you will see that the export has been completed. Below the database icon, you can see how much time there has been elapsed, including the starting- and end date of the export. On the right, below the .CSV icon, you can see how many records are exported.
- To review everything in more detail, you can also press the VIEW LOG button to view everything.
- At any time of the import process you can preview the input and the output data if available, by clicking on the top right icons.